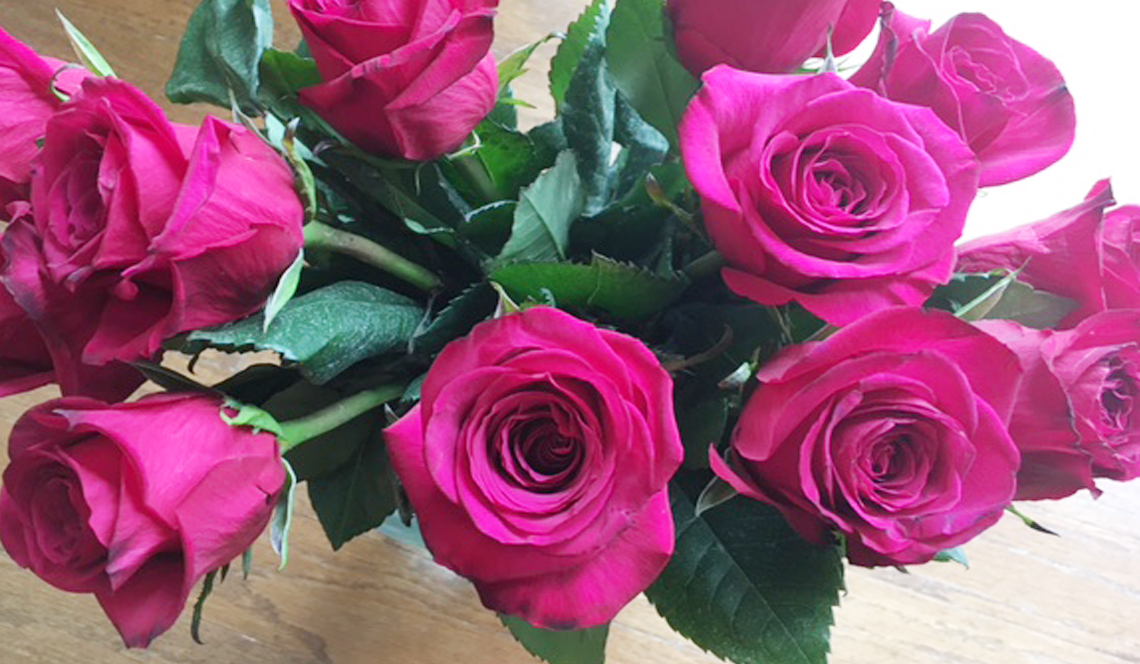
I am all for making my own natural and organic cosmetics and beauty products. You can control the ingredients, the color and the smell. But, above all, it needs to be easy. I don’t want to spend hours in my kitchen or bathroom concocting something that may not work out in the end. With spring and summer upon us, I really wanted to learn how to make my own rose water. It can be used as a toner or body spray, or even put into lemonade or recipes if you are daring. I didn’t, however, want to spend a fortune on a small amount. So, below is my journey into DIY rose water. I’m pretty impressed since it turned out really well and was super easy.
Disclaimer: Please note that some of the links in this post are affiliate links and I will earn a commission if you purchase through those links. I recommend these products because they are products that I personally use or companies that I have found trustworthy.
DIY Rose Water
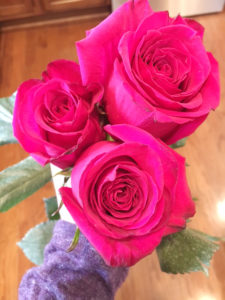
The first thing you want to do for DIY rose water is gather your “ingredients.” You will need roses (about 3 large-ish ones), distilled water, a pot to boil them in, and a mason jar or spray bottle (or your container of choosing – preferably glass) for when you are finished.
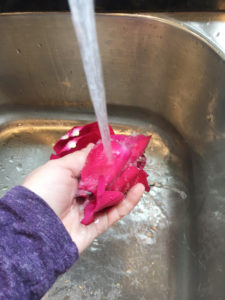
Take your three roses and pluck the petals off. You don’t need the stems, bulbs or leaves. Then rinse under cold water to get any debris or any lingering pesticides off of them.
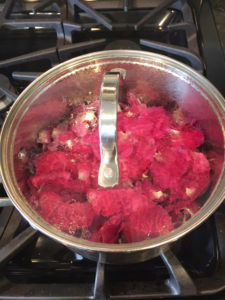
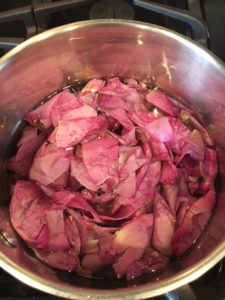
Next, add the rinsed petals to your pot and just cover them with the distilled water. Don’t add too much water or you will dilute your rose water. Put the pot on your stove.

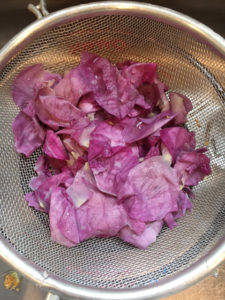
Cover the pot with a lid and simmer on low until the rose petals lose their color. At this point it is a judgement call as to how long you want to leave them on. Mine took about 7 minutes or so.
After you are happy with where the color of your petals is at, bring them over to the sink and strain the liquid from the petals. I used a hand held strainer and a large glass measuring cup to catch the rose water.
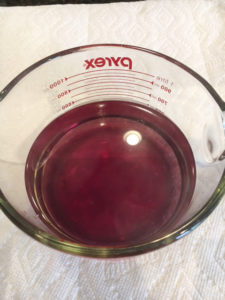
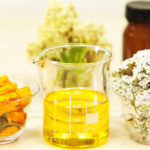
This is your final rose water! Pretty! Since I had mine strained into a large measuring cup, it was easy to pour it into my glass spray bottle and the mason jar. I like a dark colored glass container, ideally, since I feel like it will retain it’s properties and smell longer – just like essential oils.
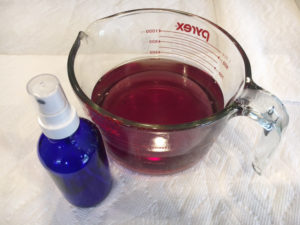
Here is the spray bottle that I used.

Store your rose water in a cool place. (I have mine in a mini-fridge in my bathroom.) Then, go ahead and spray or pour away!
Have you made your own DIY rose water? If so, let me know how it went and what you use it for in the comments below.